 Semiahmoo
 Building New in Cherry Point Means Getting the Window Openings Right the First Time
New-construction windows aren't a swap-out job. They go in during framing, before siding, before insulation, before drywall — and once the wall is closed up, the flashing and sealing decisions made at that stage are buried for the life of the house. On a replacement job, a bad flashing detail usually shows up as a leak you can chase and fix. On a new build, the same mistake can sit hidden behind siding and drywall for years before it turns into rot, mold, or a warranty dispute with the builder.
Cherry Point sits on exposed shoreline north of Semiahmoo, in Whatcom County — open water, wind, and weather with very little to break it up before it hits a house. That makes the install sequence matter more here than it does a few miles inland. We treat every new-construction window opening on this stretch as a system: the rough opening, the water-resistive barrier, the flashing, and the window itself all have to work together, in the right order, or the weakest link decides how the wall performs.
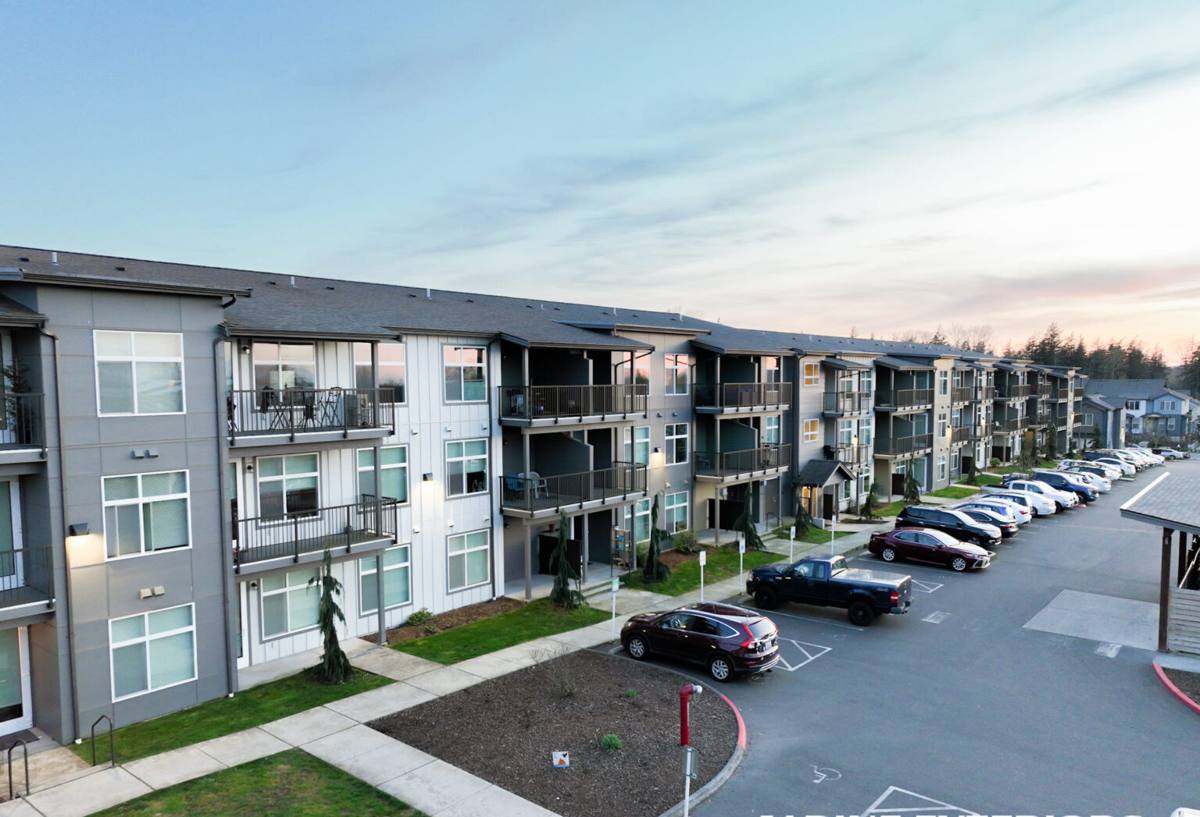
What This Climate Does to a Window Opening Over Time
Salt Air and Metal Components
Homes near the water pick up airborne salt that settles on hardware, fasteners, and any exposed metal flashing. Over years, that accelerates corrosion on anything not rated for a marine-influenced environment — cheap fasteners, unprotected steel flashing, and low-grade hardware all age faster here than they would inland. It's a slow problem, which is exactly why it's easy to underspec for it at the framing stage and only notice the cost years later.
Wind-Driven Rain and Flashing
Rain in this part of Whatcom County doesn't just fall — it gets pushed sideways into wall assemblies during storms coming off the water. A window opening that would stay dry in a calm, straight-down rain can take on water through gaps that wind-driven rain finds and standard rain doesn't. That's why flashing laps, sill pans, and sealant joints need to be built for wind pressure, not just gravity.
Moss, Shade, and Sustained Moisture
Long moss seasons mean extended stretches where siding, trim, and window perimeters stay damp rather than drying out between rain events. Moisture that lingers against wood trim or an undersized sealant joint does more damage over a season than a single hard storm. New-construction detailing needs to account for that longer wet period, not just peak rainfall.
New-Construction Windows vs. Replacement Windows: What Actually Differs
Homeowners and even some builders use "replacement" and "new-construction" windows interchangeably, but the products and the install methods are different, and mixing them up on a new build creates problems.
| Factor | New-Construction Window | Replacement (Insert) Window |
|---|---|---|
| Installation point | During framing, before siding/WRB is closed up | Existing opening, siding already in place |
| Flange type | Nailing fin, fastened directly to sheathing | Flangeless, fits inside existing frame |
| Flashing integration | Full sill pan and WRB lap sequence built into the wall | Relies on existing wall flashing and sealant |
| Access to fix mistakes | Wide open — errors are visible and correctable pre-siding | Very limited once installed |
| Best suited for | New builds, additions, full wall reframes | Existing homes keeping the current opening size |
Using an insert-style window in a new-construction opening (or the reverse) is a common shortcut on tight-budget builds, and it's one of the easier ways to end up with a window that never seals correctly. We match the window type to the framing stage every time.
What a Correct New-Construction Install Actually Involves
Rough Opening and Sill Pan
The opening gets checked for square and correct sizing, and a sloped sill pan goes in first — this is what carries any water that gets past the window itself back out to the exterior instead of pooling on the sill framing. On a site that sees sustained wet weather, skipping or shortcutting the sill pan is one of the highest-risk shortcuts in the whole install.
Water-Resistive Barrier (WRB) Sequencing
The WRB and flashing tape have to be layered shingle-style — each layer lapping over the one below it — so water is always directed outward and down, never into a seam. Get the lap order backwards at the head flashing and you've built a funnel instead of a barrier, and it won't show up until the first real storm finds it.
Setting the Window and Fastening
The window gets set plumb, level, and square in the opening, shimmed as needed, and fastened through the nailing fin per the manufacturer's pattern — this matters for both structural performance and warranty coverage, since manufacturers can void warranty claims tied to non-standard fastening.
Sealant and Backer Rod
Exterior sealant joints get backer rod where the gap calls for it, and a bead of sealant rated for the exposure — not a generic caulk that will chalk and crack after a season or two of sun and salt air.
Interior Air Sealing
Low-expansion foam or an approved sealant closes the gap between the window frame and rough opening on the interior side, cutting drafts and helping the assembly perform as one continuous air barrier rather than a patchwork.
Choosing Materials for a Cherry Point Build
Frame material and glass package both affect how a window holds up in this environment, and the right call depends on budget, exposure, and how the rest of the house is built.
- Vinyl frames: Cost-effective, low maintenance, and resistant to corrosion since there's no exposed metal to worry about — a solid default for most Cherry Point builds.
- Fiberglass frames: More dimensionally stable across temperature swings, holds paint well if a custom color is wanted, and handles a marine-influenced climate very well — at a higher price point.
- Wood or wood-clad frames: Best appearance for certain architectural styles, but the highest maintenance burden in a wet, shaded, moss-prone environment — we're honest with clients that this is a real ongoing commitment here, not a one-time purchase.
- Glass packages: Low-E coatings and argon-filled dual or triple-pane units help with both energy performance and comfort near cold water-driven wind; a coastal-appropriate coating also cuts down on UV fading of interior finishes.
Hardware and fasteners matter as much as the frame — we spec corrosion-resistant fasteners and hardware for shoreline-influenced builds rather than defaulting to whatever's cheapest, since that's the detail that fails quietly years later.
How We Run a New-Construction Window Job
We coordinate directly with the builder or general contractor's framing schedule so windows go in at the right point in the sequence — not too early, not after the WRB is already closed up around the openings. On a Cherry Point site, that usually means:
- Confirming rough opening sizes against the ordered window schedule before framing is finalized.
- Installing sill pans and flashing in the correct shingle-lap sequence with the WRB.
- Setting and fastening each window to manufacturer spec, checking plumb, level, and square.
- Sealing and air-sealing both exterior and interior sides.
- Photo-documenting flashing details before siding closes the wall — so there's a record of what's behind the finish siding.
That documentation step matters most on new builds, since it's the only way to verify flashing quality after the wall is closed. It also protects the homeowner if a warranty question comes up years later.
Cost Factors for New-Construction Window Installs
| Factor | Why It Moves the Price |
|---|---|
| Frame material | Vinyl is the budget option; fiberglass and wood-clad cost more per unit |
| Window size and count | Larger openings and higher window counts scale labor and material directly |
| Glass package | Low-E coatings, gas fills, and triple-pane options add cost but improve comfort and energy performance |
| Exposure and elevation | Walls facing prevailing wind and rain may warrant upgraded flashing details |
| Coordination complexity | Working around a tight builder schedule or custom architectural openings adds labor time |
We give straightforward, itemized numbers rather than a single lump figure, so a homeowner or builder can see where the budget is actually going.
Pre-Drywall Checklist for New-Construction Windows
Before the wall closes up, these are worth confirming — whether you're the homeowner, the builder, or another trade walking the site:
- Sill pans installed and sloped to drain outward, not toward the framing.
- WRB and flashing tape lapped shingle-style, with no reverse laps at the head or jambs.
- Windows fastened per the manufacturer's nailing pattern, not just "enough nails to hold it."
- Exterior sealant joints filled with backer rod and appropriate sealant, no gaps left exposed.
- Interior gaps sealed with low-expansion foam or approved sealant, no compressed or missing insulation around the frame.
- Photos taken of flashing and sealing before siding or exterior finish goes on.
Why It Matters to Hire a Crew That Already Works This Area
A window that's correctly installed in a low-exposure inland location can still fail in a shoreline environment like Cherry Point if the flashing details weren't built for wind-driven rain and a long wet season. Crews that primarily work drier or more sheltered areas sometimes under-detail the flashing because it's never been tested by this kind of exposure. We work this stretch of Whatcom County regularly, so the sill pan slopes, flashing laps, and sealant choices we use are sized for what Cherry Point actually sees each winter — not a generic spec sheet.
If you're building new in Cherry Point or coordinating windows for a build already underway, we're happy to walk the plans or the framed openings with you and give a straightforward, no-pressure estimate — just fill out the form below.