 Semiahmoo
 Building New in California Creek: Why Window Installation Deserves Extra Attention
California Creek sits inland from Semiahmoo Bay in a part of Whatcom County where new construction still has to answer to the same coastal weather that shapes the rest of the Blaine area — salt-laden air off the water, driving rain that comes in sideways more often than straight down, and a moss and mildew season that runs long across the region. When a home is going up from bare framing, the window installation stage is one of the few points in the entire build where you can build moisture protection into the wall assembly correctly the first time, rather than fighting it later. Get it right during framing and rough-in, and the windows perform for decades. Get it wrong, and the first sign of trouble is usually a stain on drywall two or three winters later, buried behind siding that has to come off to find the source.
We install new-construction windows specifically for builds in and around California Creek, working directly off the framer's rough openings before siding or trim ever goes on. That's a different job than replacing an old window in an existing wall, and it calls for a different sequence of work — one that starts with the sill pan and water-resistive barrier, not the window unit itself.
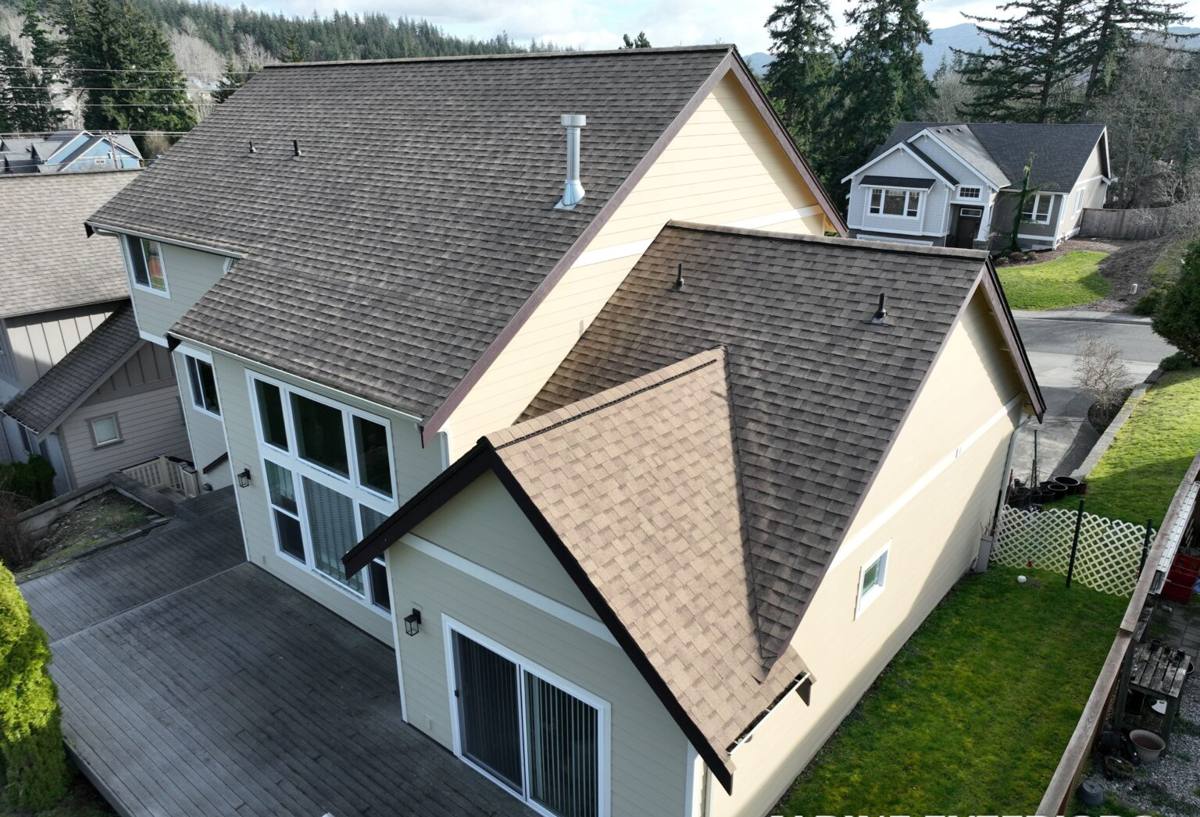
What This Climate Asks of a New Window Installation
Salt Air and Long-Term Hardware Corrosion
Homes in the California Creek area sit close enough to Semiahmoo Bay that airborne salt reaches window hardware, fasteners, and flashing metal even without direct waterfront exposure. On a new build, that means choosing corrosion-resistant fasteners and flashing tape rated for coastal exposure from day one, since a fastener that starts rusting behind the cladding is invisible until it fails. This isn't a dramatic risk, but it's a steady one, and it's cheap to address correctly during construction and expensive to fix afterward.
Driving Rain Loads the Rough Opening
Whatcom County's wind-driven rain doesn't respect a window unit's own weatherstripping. It gets pushed into the gap between the window frame and the rough opening, into head flashing laps, and into any spot where the water-resistive barrier isn't shingled correctly over the window flange. On a new-construction job, that rough opening is the single most important detail in the whole install — more important, in practical terms, than which brand of window ends up in it. A great window in a poorly flashed opening will still leak.
A Long Moss and Mildew Season
Mild, humid weather across most of the year in this part of Whatcom County keeps surfaces damp longer than drier climates ever experience, and shaded elevations on wooded California Creek lots are usually the slowest to dry out. That matters for new construction because any wood trim, sill material, or sealant joint around a window needs to tolerate sustained dampness, not just occasional rain. Materials and details that work fine in a drier region can start showing mildew or soft wood within a few seasons here if they weren't chosen with that in mind.
What a Correct New-Construction Window Install Actually Involves
New-construction window installation is a sequence, and skipping or reordering steps is where most long-term problems start. On a wood-framed home in this climate, the sequence we follow looks like this:
- Rough opening check: confirm the opening is square, plumb, and sized correctly to the window's actual dimensions before anything else happens.
- Sill pan flashing: a sloped, sealed pan at the bottom of the opening that directs any water that gets past the window back outside the wall assembly, rather than letting it sit against the sill framing.
- Water-resistive barrier integration: the housewrap or building paper is cut, lapped, and taped so water sheds over each layer in the correct order — this is where a lot of preventable leaks originate if it's rushed.
- Window set and shim: the unit is set into the opening plumb, level, and square, then shimmed to manufacturer spec so the frame isn't racked or under stress that can affect operation over time.
- Fastening per manufacturer instructions: using the fastener type, spacing, and location the window manufacturer specifies, since that's tied directly to the product's warranty.
- Flange and flashing tape: side and head flashing integrated over the nailing flange in the correct shingle-lap order, with head flashing last so water always sheds outward and downward.
- Insulation of the perimeter gap: a low-expansion foam or backer rod and sealant around the frame, avoiding high-pressure foam that can bow the frame and cause operational issues.
- Interior and exterior sealant: a continuous, gap-free bead at all the right joints — not a substitute for correct flashing, but a necessary final layer.
Every one of those steps has to happen before siding goes on, which is exactly why new construction is the right time to get it right — there's no siding or trim to remove later if a step gets missed.
Choosing Windows for a New Build in This Area
Window selection for new construction in California Creek generally comes down to balancing energy performance, weather resistance, and long-term maintenance. Washington's energy code sets minimum performance requirements for new construction, and most manufacturers offer product lines that meet or exceed those minimums with room to spare. Beyond code compliance, the honest trade-offs are mostly about frame material and long-term upkeep in a wet, salt-touched climate.
| Frame Material | Moisture & Salt-Air Behavior | Maintenance | General Cost Position |
|---|---|---|---|
| Vinyl | Doesn't rot or corrode; can expand/contract with temperature swings | Low; no painting or sealing needed | Lower |
| Fiberglass | Very stable dimensionally; resists moisture and salt exposure well | Low; finish holds up over time | Mid to higher |
| Wood-clad (aluminum or vinyl exterior) | Good if cladding and flashing are done correctly; wood core still needs protection from moisture intrusion | Moderate; depends on cladding integrity at joints | Higher |
| Bare wood | Absorbs and releases moisture readily; needs consistent upkeep in this climate | High; regular refinishing | Varies |
For most new builds in this area, vinyl and fiberglass windows offer the most reliable long-term performance for the maintenance effort involved, given the salt air and extended damp season. Wood-clad windows can perform well too, but they put more weight on correct cladding and flashing detail, since any breach in the cladding exposes the wood core to a climate that doesn't dry things out quickly.
Energy Performance Matters More Than It Might Seem
Beyond keeping water out, new-construction windows are one of the biggest factors in a new home's overall energy performance. U-factor (how much heat passes through the window) and solar heat gain coefficient are the two numbers worth understanding when reviewing a window schedule with a builder. In a marine climate like this one, where heating costs matter more than cooling, a lower U-factor generally pays off over the life of the home more than solar heat gain coefficient does — though orientation and shading on the specific lot can shift that balance.
How We Work With Builders and Homeowners on New Construction
Most of our new-construction window work in the California Creek area comes in one of two ways: as the window subcontractor working directly for a general contractor during a build, or as an owner-selected installer brought in by a homeowner who's managing their own build or working with a builder who allows homeowner-selected subs. Either way, the process looks similar:
- We review the window schedule and rough opening sizes against the actual window units ordered, before install day, to catch sizing mismatches early.
- We coordinate install timing with the framing and water-resistive barrier schedule, since windows need to go in at a specific point in the sequence, not whenever it's convenient.
- We install to each window manufacturer's published flashing and fastening instructions, since deviating from those instructions can void the manufacturer's warranty.
- We document the flashing and sill pan installation with photos before the wall is closed up, since that's the one point in a building's life when those details are visible.
- We walk the finished installation with the builder or homeowner before siding goes on, so any adjustment is easy to make while the wall is still open.
Common Problems We See in New-Construction Window Work
Most window leaks in newer homes don't trace back to a bad window. They trace back to a step in the installation sequence that got rushed or skipped, often because window install can get compressed on a tight framing schedule. The issues we see most often on new builds in this region include:
- Missing or improperly sloped sill pan flashing, letting water sit against the sill framing instead of draining out
- Water-resistive barrier lapped in the wrong order around the window opening, so water gets funneled behind the barrier instead of over it
- High-expansion foam used around the frame, bowing it slightly and causing the window to bind or not seal properly
- Fasteners driven in the wrong location or spacing relative to manufacturer specification
- Sealant used as the only water management strategy, with no proper flashing behind it
Why a Crew That Already Works This Area Matters
A crew that regularly installs new-construction windows in the California Creek and broader Semiahmoo area already has a working sense of how this climate's driving rain and long damp season interact with a rough opening before the rest of the building envelope closes it up. That translates into small, specific decisions — how much lap to build into the water-resistive barrier at the head flashing, which sealant actually holds up through a wet Whatcom County winter, where a sill pan needs extra attention on a shaded, wooded lot. Those are the details that separate a window installation that's still performing in twenty years from one that starts showing problems in three or four.
A Checklist for Reviewing New-Construction Window Work
- Confirm the crew installs to each window manufacturer's specific flashing and fastening instructions, not a generic method
- Ask whether sill pan flashing is standard practice on every opening, not just an option
- Confirm current Washington contractor licensing and active liability insurance
- Ask for photos of flashing and sill pan work before the wall is closed up
- Get a written scope that specifies frame material, U-factor, and installation method before signing
Our Process
We start by reviewing the window schedule and rough opening details against the actual home plans, then coordinate directly with the builder or homeowner on install timing relative to framing and water-resistive barrier work. Every opening gets sill pan flashing, correctly lapped barrier integration, and manufacturer-spec fastening as standard practice, not an upsell. We document the work before it's covered by siding, and we walk the finished install with whoever's managing the build so any question gets answered while the wall is still open to fix.
If you're building new in California Creek and want the window installation done right the first time, we're glad to talk through the window schedule and rough opening details with you or your builder. Reach out below for a free, no-pressure estimate.