 Semiahmoo
 Building New in Marietta? The Windows Have to Match the Weather
Marietta sits close enough to Semiahmoo Bay and the Salish Sea that new-construction windows here are doing a different job than the same product would do twenty miles inland. Salt-laden air corrodes hardware and fasteners faster than most manufacturers' warranty language accounts for. Winter storms push rain sideways, not down, which means a window that's merely "waterproof" on a spec sheet can still leak if the flashing details around it aren't right. And Whatcom County's long wet season keeps north- and shade-facing walls damp for months at a stretch, which is exactly the environment moss and algae need to take hold on frames, sills, and the siding around them.
None of that means new-construction windows in Marietta require exotic products. It means the installation has to be done correctly the first time, because a new build only gets one chance to get the water management right before the siding closes everything up.
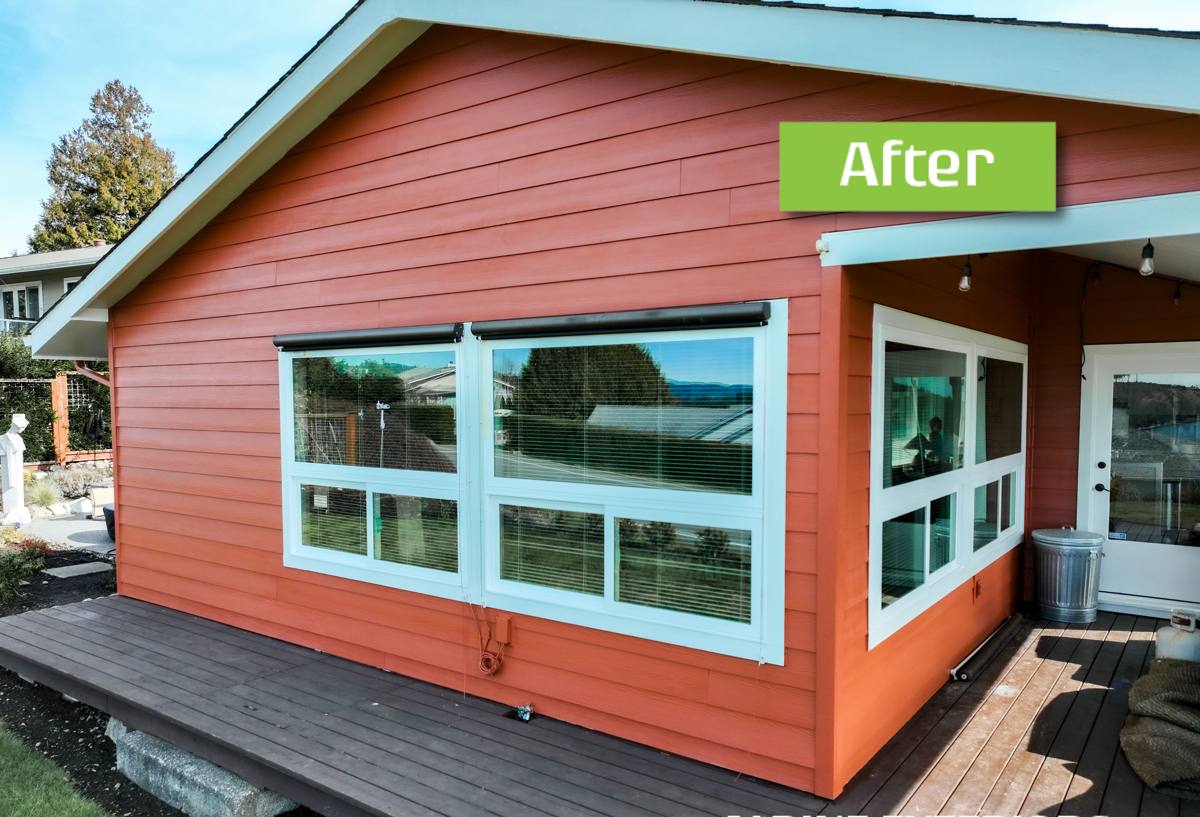
What "New-Construction Windows" Actually Means
New-construction windows are different from replacement windows, and the distinction matters for how the job gets priced and scheduled. A new-construction window has a nailing fin (or flange) around the perimeter of the frame and is installed before the siding goes on, tied directly into the wall's water-resistive barrier (WRB). A replacement window, by contrast, gets inserted into an existing frame after the fact, often without ever touching the wall's drainage plane.
On a Marietta new build, the window installer is working in sequence with the framer, the WRB/housewrap crew, and the siding crew. Get that sequence wrong — install windows before the WRB is lapped correctly, or let siding go on before flashing is finished — and you've built a leak path into the wall that won't show up until years later, usually as rot, mold, or stained interior drywall.
Why This Stage Gets Rushed
On a lot of builds, window installation happens during a busy week when framers, electricians, and the siding crew are all trying to get access to the same walls. That's when shortcuts creep in — skipped sill pans, sealant used in place of proper flashing tape, fasteners that aren't corrosion-rated. It's the single most common reason we get called out to a "newer" home with a leak that traces back to the original build.
What Marietta's Climate Demands From the Installation
Salt Air and Hardware
Standard carbon-steel fasteners and cheaper hinge/lock hardware corrode faster in the salt-influenced air near the bay than they would twenty or thirty miles inland. We spec stainless or hot-dip galvanized fasteners for nailing fins and use manufacturer hardware rated for coastal exposure. It costs a little more up front and saves a callback in five years when hardware starts to seize or streak.
Driving Rain
Wind-driven rain off the Strait of Georgia and the Salish Sea hits window assemblies from angles a lot of installation guides don't fully account for. That's why sill pan flashing — a sloped, dammed pan under the window that directs any water that gets past the frame back outside rather than into the wall cavity — isn't optional here. It's cheap insurance relative to the cost of a stripped-out and rebuilt wall section.
Moss and Long-Term Moisture
Whatcom County's moss season runs most of the year on shaded or north-facing elevations. Moss itself doesn't damage a properly flashed window, but it's a sign that a wall stays wet longer than it should. If drainage details are wrong, moss and algae growth around frames and trim is often the first visible clue — well before you'd see interior damage.
What a Correct New-Construction Install Involves
There's a specific order of operations that keeps water moving out and away from the wall assembly instead of into it:
- Verify the rough opening is square, plumb, and sized correctly before the window ever arrives on site.
- Install a sloped sill pan with corner dams — this is the backstop if anything gets past the window itself.
- Apply flashing tape shingle-style: sill first, then jambs, then head, each layer overlapping the one below so water always sheds outward and downward.
- Set the window, level and plumb, and fasten per the manufacturer's schedule with corrosion-resistant fasteners.
- Seal and back-rod the interior and exterior per manufacturer spec — sealant is a secondary defense, not the primary one.
- Integrate the head flashing under the WRB above the window (never on top of it) so the wall's drainage plane stays continuous.
- Leave the assembly ready for the siding crew to lap their material and any kick-out flashing into what's already there, without gaps.
Every one of those steps is inspectable, which matters — Whatcom County building inspectors will check flashing and WRB integration before the wall gets closed up, and getting it right the first time avoids re-work delays on the build schedule.
Choosing Window Material for a Coastal Whatcom County Build
Frame material matters more here than it would in a drier, inland climate. We walk new-construction clients through the trade-offs rather than defaulting to one product line:
| Material | Salt Air / Corrosion Behavior | Moisture Behavior | Maintenance | Typical Fit |
|---|---|---|---|---|
| Vinyl | Good — no metal corrosion in the frame itself, but check hardware rating | Doesn't absorb water; seams and welds are the weak point if install is poor | Low | Cost-conscious builds, most homes |
| Fiberglass | Very good — dimensionally stable, resists pitting | Very low expansion/contraction, holds paint and seals well over time | Low to moderate | Higher-end builds, larger openings |
| Aluminum-clad wood | Cladding protects exterior face; interior wood needs a dry wall assembly | Best appearance, but relies entirely on correct flashing to stay dry | Moderate to high | Design-driven builds where interior wood look is wanted |
| Bare aluminum | Prone to pitting and corrosion in salt-influenced air over time | Thermally weak; condensation risk in our wet winters | Moderate | Generally not our recommendation for this location |
We steer most Marietta new-construction clients toward vinyl or fiberglass for the balance of cost, corrosion resistance, and low maintenance in a wet, salt-influenced climate. Where a client wants the look of wood, we recommend aluminum-clad and are upfront that the flashing detail work around it has to be flawless — there's less margin for error than with vinyl or fiberglass.
How We Work on Marietta New Builds
Because we already work this stretch of Whatcom County, we know what the wind-driven rain does to a wall that's flashed even slightly wrong, and we know what the local inspectors are checking for at the window rough-in stage. Our process on a new-construction job:
- Walk the rough openings with the framer before windows arrive, and flag anything out of square or out of tolerance.
- Confirm window specs meet Washington State Energy Code U-factor requirements for the project before ordering.
- Install sill pans, flashing tape, and fasteners to manufacturer spec, photographed at each stage for the build record.
- Coordinate directly with the siding crew (in-house or the general contractor's) so flashing laps continuously with no gaps at transitions.
- Leave the assembly ready for inspection with no shortcuts hidden behind trim or siding.
That coordination matters most at the handoff points — where window flashing meets the WRB, and where the WRB meets the siding. Those seams are where new-construction leaks actually originate, and they're invisible once the house is finished.
Why Local Experience Matters on This Job
A crew that hasn't worked near Semiahmoo Bay before might install windows correctly by a generic standard and still leave a house vulnerable to the specific way weather hits it here — rain angle, salt exposure, and how long a wall stays wet after a storm. Crews that already work Marietta and the surrounding Whatcom County coastline know which details to over-build rather than build to minimum code, because they've seen what happens to the ones that don't.
A Simple Pre-Siding Checklist
Before siding closes up a new-construction wall, these are the items worth confirming — whether you're the builder, the homeowner, or just want to understand what your crew should be doing:
- Rough openings checked square, plumb, and level before window install
- Sloped sill pan flashing installed with corner dams at every window
- Flashing tape applied shingle-style: sill, jambs, then head, each overlapping correctly
- Corrosion-resistant fasteners used throughout, not standard carbon steel
- Head flashing tucked under the WRB above the window, not over it
- Sealant and backer rod applied per manufacturer instructions, not as a substitute for flashing
- U-factor and energy code documentation on file for the specific windows installed
- Flashing details photographed before they're covered by siding
If you're planning a new build in Marietta or elsewhere in Whatcom County and want windows installed by a crew that already understands what this coastline does to a wall assembly, we're glad to walk the plans with you and put together a straightforward, no-pressure estimate — just fill out the form below.