 Semiahmoo
 Getting New Construction Windows Right the First Time in Sumas
A new build or a room addition in Sumas gives you one real chance to get window installation right while the wall is still open. Once siding, trim, and drywall go up, mistakes in the flashing and sealing get buried — and in this part of Whatcom County, buried mistakes don't stay quiet for long. Salt-laden air, wind-driven rain, and a moss season that can stretch across most of the year all put steady pressure on a window opening. An install that would hold up fine in a dry, mild climate can fail here in a fraction of the time.
This page is about doing that one chance right: what the local climate actually does to a window opening, what a correct install involves step by step, and why it matters to work with a crew that has already installed windows on new builds around Sumas and the surrounding area.
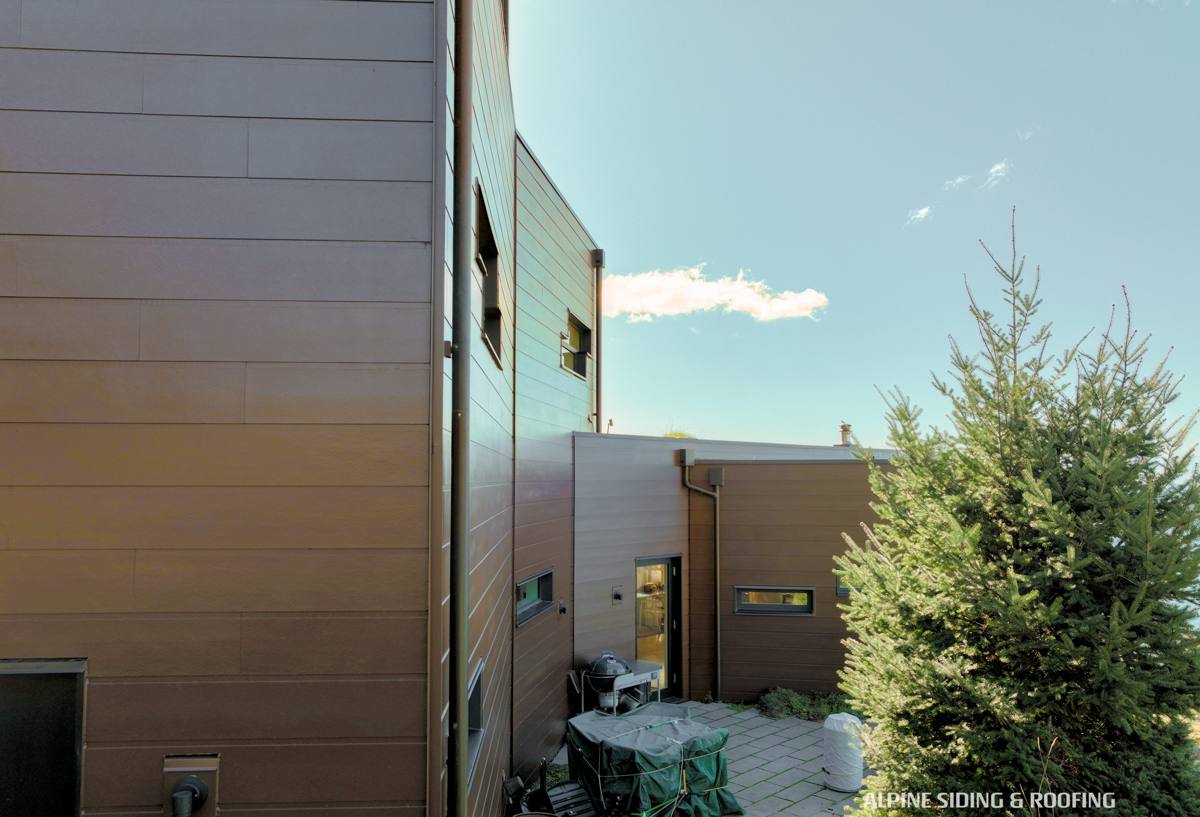
What This Climate Actually Does to a Window Opening
Salt Air and Slow Corrosion
Homes in and around Semiahmoo sit close enough to open water that salt-laden air travels inland on a regular basis. It doesn't take a beachfront lot to feel the effect — salt residue settles on exposed metal, and over time it works on anything that isn't built to resist it. Unclad aluminum components, bargain fasteners, and exposed hardware corrode noticeably faster here than they would fifty or a hundred miles inland. That's why we pay attention to fastener material and hardware finish on every install, not just the window itself.
Driving Rain, Not Just Rain
Whatcom County storms usually bring wind along with the rain, and wind-driven rain behaves differently than a straight-down shower. It gets pushed sideways into wall assemblies, pools at inside corners, and finds its way behind trim and siding that would stay dry in calmer weather. New construction with clean, simple rooflines and shorter eave overhangs — common in a lot of today's designs — gives wind-driven rain more direct access to the window opening. A flashing detail that's "close enough" in a calm climate is a real liability here.
A Moss Season That Doesn't Let Anything Dry Out
The stretch of damp, overcast months in this part of Washington means moss and algae get a foothold on window sills, trim, and siding that stay even slightly damp. In a drier climate, a small amount of trapped moisture behind a window flange might dry out between storms. Here, it often doesn't get the chance. That's the real danger of a sloppy install in Sumas: it's not usually a sudden leak, it's slow, ongoing dampness that shows up later as staining, soft trim, or a green film that keeps coming back no matter how many times it's cleaned off.
What a Correct New-Construction Window Install Involves
The Flashing Sequence Comes First
Before the window ever gets set, the opening needs a sill pan flashing sloped toward the exterior, so any water that gets past the window sheds outward instead of pooling on the sill. The weather-resistive barrier (WRB) around the opening has to be lapped shingle-style — each layer overlapping the one below it — so water always moves down and out, never sideways into the wall cavity. Jamb flashing goes on next, and head flashing goes on last, lapping over the top of the WRB above the window. Get that order wrong, even by installing one piece before another, and you've built a path for water to travel behind the siding instead of off of it.
Nail-Fin vs. Block-Frame Windows
Most new construction in this area uses nail-fin (flanged) windows, which fasten directly to the sheathing and integrate with the WRB using the flashing sequence above. Block-frame windows, which sit inside a rough opening without a nailing flange, are more common with masonry or certain retrofit situations. For a typical wood-framed new build in Sumas, nail-fin windows installed with correct flashing integration are the standard we work to — the flange gives us a mechanical, layered water path instead of relying on sealant alone.
Sealant Is Backup, Not the Plan
Caulk and sealant have a real job to do, but they're the last line of defense, not the first. Sealant breaks down with UV exposure and temperature swings over the years; the mechanical flashing lap underneath it is what actually keeps water moving in the right direction long after the caulk has aged. Any install that depends on a bead of sealant to make up for skipped or backward flashing is an install waiting to fail — usually a few winters down the road, right when it's hardest to trace the cause.
Frame Material and Performance: What We Recommend and Why
There isn't a single "best" window material for every project, but some materials handle this climate's combination of salt air, moisture, and temperature swings with a lot less upkeep than others. Here's an honest comparison of the main options for new construction:
| Frame Material | Upfront Cost | Moisture & Salt-Air Resistance | Maintenance | Typical Lifespan |
|---|---|---|---|---|
| Vinyl | Lowest | Good — won't rot or corrode | Low — occasional cleaning | 20–30+ years |
| Fiberglass | Mid to higher | Very good — stable in wet/dry cycling | Low | 30+ years |
| Wood-clad | Higher | Good on the exterior face; interior wood needs protection | Moderate — finish upkeep on any exposed wood | 20–30 years with upkeep |
| Bare aluminum | Low to mid | Weaker unless thermally broken and properly finished | Moderate — watch for corrosion and condensation | Varies widely |
Our standard for new construction here leans toward vinyl and fiberglass frames because they don't need refinishing to keep resisting moisture, and they don't offer corrosion a foothold the way untreated or poorly finished metal can. Wood-clad windows can still be the right call for a specific look, but we're upfront that any exposed wood component is one more maintenance item in a climate that doesn't dry things out quickly. This is a trade-off decision, not a right-or-wrong one — we'll walk through it with you based on your design and budget.
Nail-Fin vs. Block-Frame at a Glance
| Detail | Nail-Fin (Flanged) | Block-Frame |
|---|---|---|
| Common use | Wood-framed new construction | Masonry walls, some retrofits |
| Water management | Integrates with WRB and flashing layers | Relies more on sill pan and sealant detailing |
| Best fit for Sumas builds | Yes, in most cases | Situational |
Our New-Construction Window Process
- Walk the rough openings with the builder or homeowner and confirm sizes, orientation, and any exposures that will take the brunt of wind-driven rain.
- Confirm the weather-resistive barrier is properly lapped and in place before the window arrives on site.
- Dry-fit each window to check level, plumb, and square before any fastener goes in.
- Install sloped sill pan flashing at every opening.
- Set the window, shim it at the structural points specified by the manufacturer, and fasten it per the manufacturer's schedule.
- Integrate jamb and head flashing with the WRB in the correct shingle-lap order.
- Fill the gap between window and framing with a low-expansion foam or backer rod — never packed tight enough to bow the frame.
- Finish interior and exterior trim, and seal only where the manufacturer's instructions call for it.
- Walk the finished openings with you, and register the manufacturer's warranty in your name.
Checklist: What We Confirm Before We Call It Done
- Sill pan flashing is sloped to drain toward the exterior, not flat or pitched inward.
- Head flashing laps over the jamb flashing, which laps over the sill pan — never the reverse.
- The WRB has no reverse laps anywhere around the opening.
- The window is plumb, level, and square within the manufacturer's stated tolerance.
- Shims sit at load points, not just jammed into the corners.
- Low-expansion foam is used correctly — not overfilled to the point of bowing the frame.
- Exterior sealant is applied where specified — typically the top and sides — while the sill is left able to drain, not fully sealed shut.
- Interior air sealing is continuous, with no visible gaps at the jambs.
Why a Crew That Already Works in Sumas Matters
Window installation instructions look the same printed on a box no matter where the house sits. What differs is everything around that instruction sheet — which walls in a given lot layout take the worst of the wind-driven rain, how much margin to build in for a moss season that keeps things damp longer than a manufacturer's spec sheet assumes, and what local building department inspectors are actually looking for on a new construction walkthrough. A crew that has done this work around Sumas and the wider Semiahmoo area has already made the adjustments that come from repetition in this exact climate, instead of learning them on your project. That local experience also means faster response if a builder's schedule shifts, since we're not driving in from outside the area to fit you in.
Common Problems We See From Installs Not Built for This Climate
When we're called in on a newer home that's already having window trouble, the cause is almost always traceable to the same handful of shortcuts: a sill pan that was skipped or installed flat instead of sloped, a WRB lap installed backward, sealant used in place of proper flashing, or fasteners that started corroding within a few years because they weren't rated for a salt-air environment. None of these show up on move-in day. They show up as a stain under a window a year or two later, a soft spot in interior trim, or moss establishing itself on a sill that should be shedding water, not holding it. Catching the cause early is far cheaper than waiting for it to spread into the wall framing.
Maintenance After Install: Keeping New Windows Performing
A correctly installed window still benefits from a little attention each year, especially in this climate:
- Check exterior caulk joints at the head and sides each fall before the rainy season sets in, and re-seal any joint that's cracked or pulled away.
- Rinse frames and hardware periodically if your home is exposed to open water, to clear salt residue before it has time to work on metal components.
- Keep gutters and downspouts directing water away from window heads rather than letting it sheet down the wall above them.
- Watch for moss or a green film forming on sills or trim — it's often the first visible sign of moisture that isn't draining the way it should.
- Make sure weep holes at the base of the frame stay clear of dirt, debris, or paint buildup so water can exit as designed.
If you're planning new construction or an addition in Sumas, we'd be glad to walk through your window openings, your framing schedule, and your material options with you. Reach out below for a free, no-pressure estimate.