 Semiahmoo
 Siding Installation in Birch Bay: A Job the Climate Doesn't Forgive
Installing siding on a Birch Bay home is a different job than installing the same product a few miles inland. This stretch of Whatcom County sits right on the water, which means every new siding job here has to be planned around salt-laden marine air, wind-driven rain that comes in sideways rather than straight down, and a moss and mildew season that can run most of the year on shaded walls. None of that shows up on day one. It shows up two, five, or ten years later, in the form of failed caulk joints, swollen panel edges, or rusted fasteners bleeding through the finish. A siding installation that's planned and executed with this climate in mind looks almost identical to a rushed one on the day it's finished — the difference only becomes visible over time.
This page is specifically about siding installation for Birch Bay homes: what the local climate demands from the work, what a correct installation actually involves step by step, and why we install James Hardie fiber cement exclusively rather than offering a menu of siding brands.
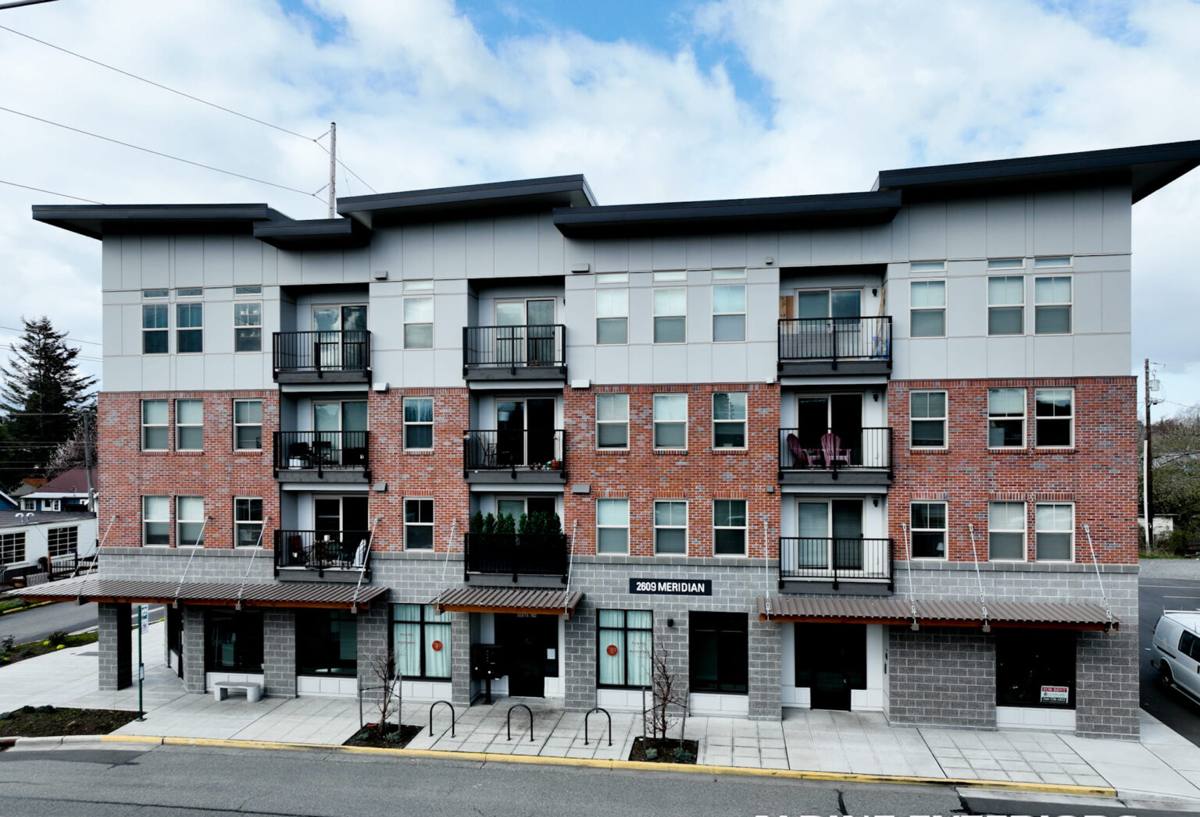
What Salt Air, Driving Rain, and Moss Do to a New Siding Job
Salt Air and Corrosion
Birch Bay's waterfront setting means homes here take on more salt-laden air than inland Whatcom County properties. That salt doesn't just sit on the surface — it accelerates corrosion in exposed fasteners, flashing, and any metal trim used in the installation. A siding job that uses the wrong fastener grade or leaves flashing exposed to direct salt spray will show rust streaks and corrosion well before the siding material itself has any right to fail. Every metal component in a Birch Bay siding installation needs to be chosen for that exposure from the start.
Wind-Driven Rain
Because Birch Bay sits on open water with little to break the wind, rain here gets pushed sideways into wall assemblies rather than falling straight down. That matters enormously for siding installation, because it's the laps, joints, and penetrations — not the flat face of the panel — that take the brunt of that pressure. Installation details that hold up fine in a sheltered, inland yard can leak in Birch Bay specifically because they were never tested against water arriving at an angle, under wind pressure, for hours at a time.
A Long Moss and Mildew Season
Mild temperatures and near-constant humidity give this part of Whatcom County a moss and mildew season that runs most of the year, especially on north-facing or shaded walls. Siding material that's even slightly porous, or installed without adequate drainage behind it, becomes a growth surface faster here than it would in a drier climate. That's a factor in both the material choice and the installation detailing — not just in how often a homeowner ends up cleaning the walls afterward.
What a Correct Siding Installation Actually Involves
A siding installation is more than fastening new panels to a wall. In a climate like Birch Bay's, the parts of the job that are invisible once it's finished are usually the parts that determine whether it lasts twenty years or five.
Tear-Off and Substrate Inspection
Removing the old siding is also the only chance to actually see the sheathing underneath. Water damage, soft spots, or old moisture trapped behind failed siding needs to be found and addressed before anything new goes up — covering over a compromised substrate just hides the problem for a while longer.
Weather-Resistive Barrier and Flashing
A correctly lapped weather-resistive barrier, with flashing properly integrated at every window, door, and penetration, is what actually keeps wind-driven rain out of the wall assembly. The siding itself is the second line of defense, not the first. Skipping or rushing this layer is one of the most common reasons a siding job that looks fine for a year or two starts leaking later.
Rain-Screen and Drainage Detailing
In a wet, salt-exposed climate like this one, giving water a path to drain and air a path to circulate behind the siding matters more than it does in a drier region. Rain-screen or furring detailing, where called for by the assembly, helps the wall dry out between storms instead of holding moisture against the sheathing and the back of the siding panels.
Fastening and Joint Details
Fastener type, spacing, and placement all need to follow the manufacturer's published specification, not just "close enough." Butt joints need to be properly backed and sealed or factory-mitered, since a poorly detailed joint is one of the most common places water gets behind fiber cement siding over time.
Why We Only Install James Hardie Siding
We used to install a wider range of siding products. We stopped, and that decision came directly from what we kept seeing on tear-offs and service calls in coastal, high-moisture settings like Birch Bay — not from a supplier relationship.
- Non-combustible core: Fiber cement doesn't feed a fire the way wood-based siding products can, which matters for both safety and, in many cases, insurance underwriting.
- Factory-applied ColorPlus finish: The color is baked on under controlled factory conditions rather than brushed on in the field, and it resists fading, chalking, and moisture intrusion far longer than site-applied paint.
- Climate-engineered HZ5 formulation: Hardie's HZ5 product line is built for regions with heavy moisture exposure and freeze-thaw cycling, which fits waterfront Whatcom County well.
- Dimensional stability: Fiber cement doesn't swell, cup, or warp the way engineered wood products can after repeated wetting through a long wet season.
- Strong transferable warranty: Hardie backs the product with a substantial warranty, provided the installation follows their published specification.
We won't install LP SmartSide, vinyl siding, Cemplank, Allura, primed spruce, or cedar. Each has a legitimate place in the market, and plenty of homeowners are satisfied with them in the right setting. But for a new installation on an exposed, salt-air property like a Birch Bay home, we've made a professional call: we'd rather install one system we fully stand behind, start to finish, than offer a cheaper alternative that quietly shifts long-term maintenance risk onto the homeowner.
Our Siding Installation Process
- On-site assessment: We walk the existing exterior, look at how the current siding has handled moisture and salt exposure, and check for signs of trapped water or substrate damage.
- Written scope and proposal: Before any work starts, you get a clear written scope covering material, fastening, flashing details, and timeline — not a verbal estimate that changes once the job is underway.
- Site protection and tear-off: Landscaping and adjacent surfaces get protected, then the existing siding comes off so the sheathing can be inspected directly.
- Substrate repair: Any soft, water-damaged, or compromised sheathing gets addressed before the new weather barrier goes on — not patched over.
- Weather barrier and flashing installation: A correctly lapped weather-resistive barrier and properly integrated flashing at every window, door, and penetration go in as the primary water management layer.
- Hardie installation to spec: Panels go up with the correct fastener type and spacing, proper clearance from grade and roof lines, and factory-mitered or properly sealed joints.
- Trim, caulking, and finish details: Corner trim, window and door casings, and touch-up work get finished to match the ColorPlus factory finish.
- Final walkthrough: We walk the completed job with you before calling it done, so any questions get answered on site.
Cost Factors for a Birch Bay Siding Installation
Every home is different, but the factors that move a siding installation's price up or down in this area are fairly consistent. Getting a written, itemized estimate that addresses these is more useful than comparing a single bottom-line number between contractors.
| Cost Factor | Why It Matters in Birch Bay |
|---|---|
| Square footage and home shape | More wall area and more corners, dormers, or offsets mean more cutting, fitting, and joint detailing |
| Condition of existing sheathing | Salt-air and wind-driven-rain exposure make hidden moisture damage more common; repairs add time and cost before new siding can go up |
| Tear-off vs. re-siding over existing material | Tear-off costs more upfront but is the only way to inspect and repair the substrate — often the right call in this climate |
| Trim, corner, and flashing complexity | Homes with more windows, dormers, or roof-to-wall transitions need more flashing and trim detailing to hold up to wind-driven rain |
| Access and home height | Multi-story or tightly-sited homes require more staging and labor time, which affects overall cost |
Why Hiring a Crew That Already Works Birch Bay Matters
A crew that regularly installs siding in Birch Bay already knows how salt air, open wind, and prolonged moisture behave on this stretch of coastline, as distinct from a few miles inland. That familiarity shows up in specific decisions on the job — how flashing gets lapped at a given roof-to-wall transition, which fastener grade gets specified, where extra drainage detailing gets added on a shaded north wall. Those are exactly the details that determine whether a siding installation holds up through one wet season or through several decades. A contractor without regular experience in this specific exposure is more likely to fall back on generic, inland-standard details that simply weren't built for it.
Checklist Before You Hire for a Birch Bay Siding Installation
- Ask exactly what siding material and product line they're proposing, and why it fits this climate
- Confirm they carry current Washington contractor licensing and active liability insurance
- Ask whether they tear off existing siding to inspect the sheathing, or install over it
- Ask how they detail flashing at windows, doors, and roof-to-wall transitions for wind-driven rain specifically
- Get a clear, written, itemized scope of work before signing anything
- Confirm whether the manufacturer's warranty requires certified or approved installation, and whether they meet that standard
If you're weighing a siding installation for a Birch Bay home, we're happy to walk the exterior with you and give an honest read on what it actually needs — no pressure, no generic sales pitch. Reach out below for a free estimate.