 Semiahmoo
 New-Construction Windows Built for Wiser Lake's Climate
Wiser Lake sits inland from the coast, but it doesn't escape what Whatcom County weather throws at a house. Storms moving off Semiahmoo Bay and the Strait of Georgia still carry salt-laden marine air well past the shoreline, and combined with the driving, sideways rain typical of a Pacific Northwest winter, window openings on new builds here take a real beating before the siding and trim ever go on. Add a moss season that can stretch from October through May, and any window installed without careful attention to flashing and drainage is a slow leak waiting to happen — sometimes not showing up as a stain on drywall for two or three years.
New-construction window work is a different job than swapping out an old unit in an existing wall. There's no old window to learn from, no existing flashing to inspect and correct — you're setting the standard for how water will be managed at that opening for the next 30-plus years. Get it right during framing and rough-in, and the windows will perform quietly for decades. Get it wrong, and it's often hidden behind siding until real damage shows.
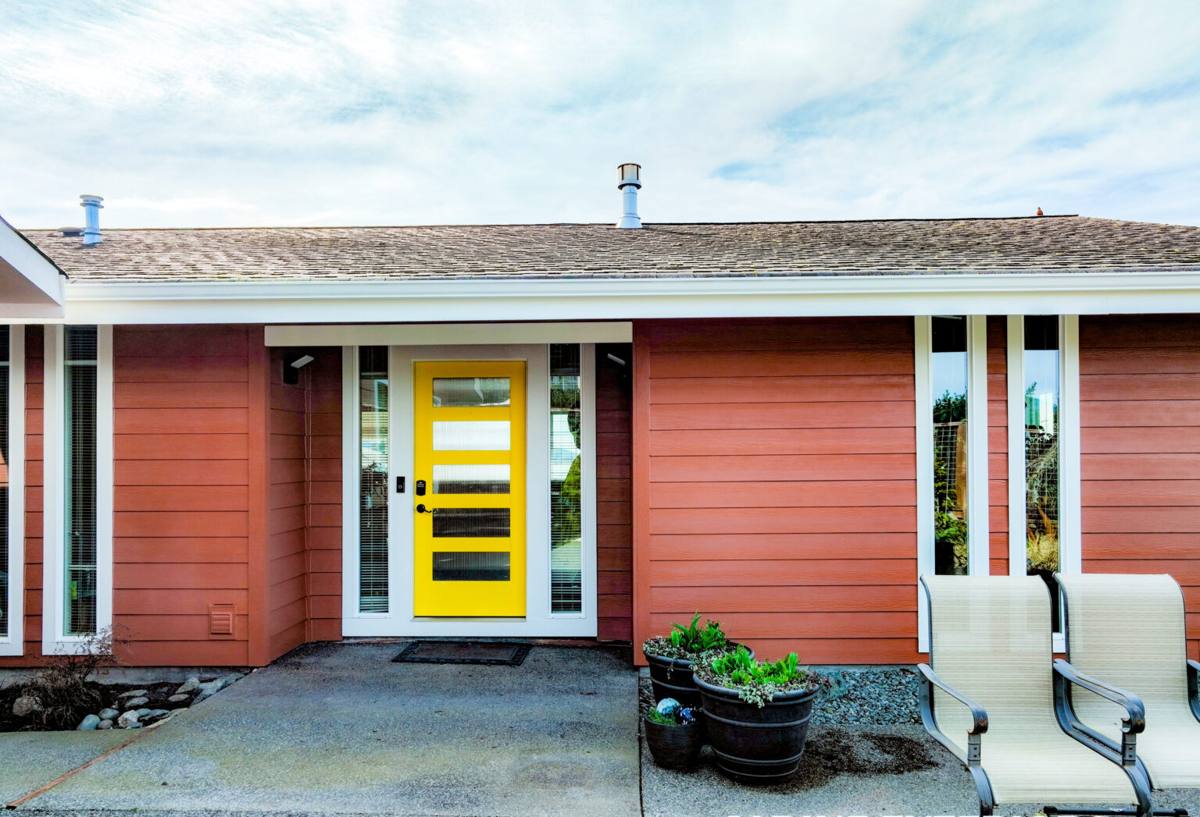
New Construction vs. Replacement: Why the Process Is Different
A lot of homeowners assume "installing a window" is the same job regardless of context. It isn't. In new construction, the window goes in before or during the siding and weather-resistive barrier (WRB) work, which means the installer is building the entire water-management system around the opening from scratch — not working around what's already there.
Flashing and Water Management
This is where most long-term problems start or get prevented. A correct new-construction install layers flashing tape, sill pans, and the WRB in a specific shingle-style order so that any water that gets past the window sheds down and out, never behind the siding. In a climate that sees as much driving rain as ours, sill pan flashing at the bottom of the rough opening isn't optional — it's the difference between a window that sheds a wind-driven leak harmlessly and one that channels it straight into the wall cavity.
Nail Fin vs. Block Frame Installs
Most new-construction vinyl and fiberglass windows in this region use a nail fin (flange) that gets integrated directly into the WRB and flashing layers — this is the standard approach for wood-framed construction and, done correctly, gives the most reliable water seal. Block frame windows, more common in masonry or some commercial applications, install into a finished rough opening and rely on sealant and trim rather than an integrated fin. For most Wiser Lake homes, nail fin is the right call, and we set it up that way unless the framing or design calls for something else.
Framing and Rough Opening Considerations
Before a window ever gets set, the rough opening needs to be checked for square, plumb, and correct size — undersized or out-of-square openings are one of the most common causes of windows that don't operate smoothly or seal properly for their entire service life. On new builds we also pay attention to:
- Rough opening dimensions matching the window manufacturer's specified tolerances, not "close enough"
- Header sizing appropriate to the span and load above the opening
- Sill pan flashing sloped slightly outward so water can't pool at the bottom of the frame
- Continuous WRB coverage with no gaps or reverse-lapped seams around the opening
- Shimming that supports the frame without bowing it, so the sash operates smoothly for years
Skipping any one of these doesn't usually cause an immediate problem — it shows up later, after a few wet seasons, as a sticking sash, a drafty corner, or worse.
Choosing the Right Window for Whatcom County Weather
Frame material and glazing package matter more here than in a drier climate, because the window is dealing with sustained moisture exposure and temperature swings, not just occasional rain. Here's how the common options compare for a new-construction install in this area:
| Frame Material | Moisture Performance | Maintenance | Typical Fit for Wiser Lake |
|---|---|---|---|
| Vinyl | Good — won't rot, minimal moisture absorption | Low — occasional cleaning | Strong value option for most new builds |
| Fiberglass | Excellent — very stable in wet/dry cycling, low expansion | Low | Best long-term performer where budget allows |
| Wood-clad | Depends heavily on cladding integrity and sealant maintenance | Higher — cladding seams need periodic inspection | Fine for homeowners who want the interior wood look and will stay on top of upkeep |
| Aluminum | Poor thermal performance, prone to condensation in our humidity | Moderate | Generally not our recommendation for residential new builds here |
We're honest with clients about aluminum-framed residential windows in this climate — the thermal bridging leads to condensation on the interior frame during our cool, humid winters, which is a maintenance headache more than a defect, but it's worth knowing before you choose. Vinyl and fiberglass are where most new-construction budgets land, and both hold up well against the driving rain and marine air typical of the county.
Our Installation Process
- Verify rough opening dimensions, square, and level against the window schedule before any window arrives on site
- Install sill pan flashing and dry-fit the window to confirm fit and reveal
- Apply flashing tape and integrate the nail fin with the WRB in proper shingle-lap order
- Set the window plumb, level, and square, shimming as needed without distorting the frame
- Fasten per manufacturer spec — over-driving or under-driving fasteners is a common cause of warranty issues
- Seal the interior air barrier separately from the exterior water barrier — these are two different jobs and shouldn't be combined with one bead of caulk
- Test operation of every sash and lock before moving to trim and siding
We build in a check at the flashing stage specifically because it's the point where a mistake is cheap to fix — before siding goes on, it's a five-minute correction; after, it can mean removing finished exterior work.
Mistakes We Commonly Catch on New-Construction Sites
When we're brought onto a new build — sometimes as the original window installer, sometimes to correct another trade's work before siding closes it in — these are the issues that come up again and again:
- Sill pan flashing skipped or improvised with caulk alone instead of a proper pan
- WRB overlapped in the wrong order, directing water behind the barrier instead of over it
- Rough openings sized to "make the window fit" rather than to the window's actual spec
- Nail fins face-nailed instead of through the fin holes, compromising the water seal
- Foam sealant used as the primary air seal without a separate backer rod and sealant at the interior
- No sill pan slope, leaving a flat spot where water sits against the frame
None of these are visible once the wall is closed up. That's exactly why the framing and flashing stage deserves more attention than it usually gets.
Why a Crew That Already Works Wiser Lake Matters
Building science for window installation isn't regional trivia — the flashing sequence and materials that hold up fine in a dry inland climate can fall short here, where a window opening might see weeks of sustained wetting between dry stretches. A crew that installs windows across Whatcom County knows what local moisture exposure actually does to a wall assembly over time, not just what a manufacturer's install sheet says in general terms.
There's also the practical side: local building departments have their own inspection expectations for window rough-ins and flashing details on new construction, and showing up prepared for that inspection the first time saves real delays on a build schedule. A crew unfamiliar with the county's process is more likely to get called back for corrections.
What New-Construction Windows Typically Cost
Pricing depends on more than just the window unit itself. On new construction, several factors move the number:
| Cost Factor | Why It Matters |
|---|---|
| Window size and number of units | More openings and larger glass area mean more material and labor |
| Frame material (vinyl, fiberglass, wood-clad) | Fiberglass and clad-wood run higher than standard vinyl |
| Glazing package (double vs. triple pane, Low-E coatings, gas fill) | Better thermal and condensation performance costs more upfront |
| Flashing and WRB integration complexity | Bay windows, corner windows, and unusual framing take more labor to detail correctly |
| Access and site conditions | Upper-story or hard-to-access openings add time |
We'd rather walk a specific job site and give a real number than throw out a broad range that doesn't mean much for your build. What we can say honestly: cutting corners on flashing and sill pans to save a small amount up front is the single most common source of expensive repairs down the road.
After Installation: What Keeps These Windows Performing
Once new-construction windows are in and the home is buttoned up, they need very little — that's the point of doing the flashing and integration correctly the first time. A yearly look at exterior sealant joints, especially after a hard winter, and keeping gutters and downspouts clear so water isn't dumping near window openings, goes a long way in a climate that stays damp for much of the year. Moss and algae growth on nearby siding or trim is common here and isn't itself a sign of a window problem, but it's worth clearing away so it isn't holding moisture against the frame edges.
If you're planning new construction or an addition in the Wiser Lake area and want windows installed the way this climate actually requires — proper flashing, correct fin integration, and a crew that stands behind the work — we're happy to walk the plans or the site and put together a free, no-pressure estimate.